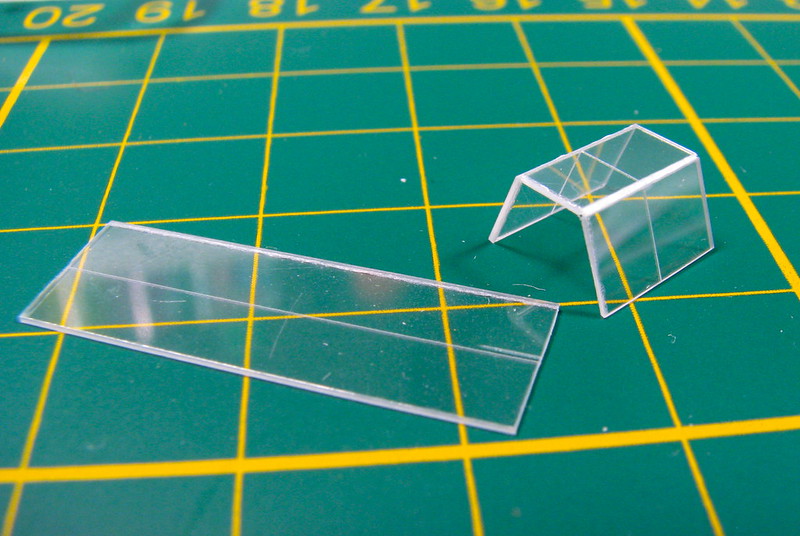
A few tricks that some may find useful. A I mentioned, the canopy of the Tamiya 109 is rather thick. I was able to sand the inside on the rear section and polish it back up, but that proved impractical for the center section. I tried several different clear plastics from the stash and ended up using one of the less suitable, .015" Evergreen styrene. Butyrate would have been better, but I didn't have any at hand. Styrene tends to shatter or tear, but if you're careful, you can get acceptable results. Here's the first step. cutting the piece to the proper length and width, then gently scribing the centerline, which represents the individual panes.
 IMG_5986
Paint the edges with RLM 66. Don't worry about the ragged looking edges, they will be covered by decals cut into strips to represent frames.
 IMG_5995
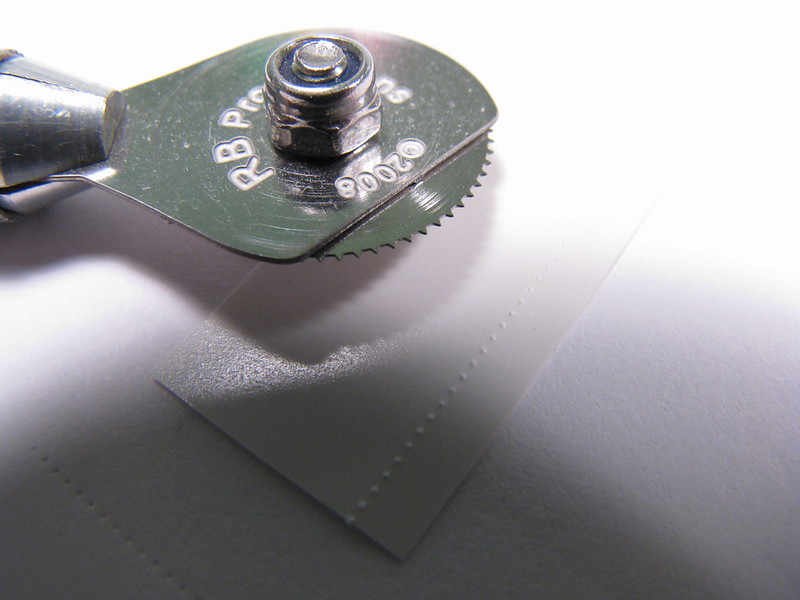
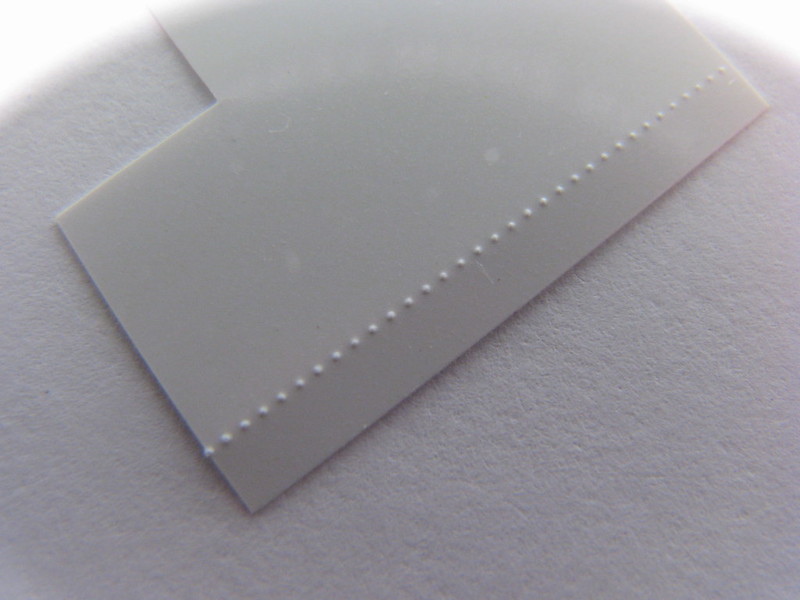
I wanted to represent the bolts on the base strips at the bottom of the canopy. I the old days when I modeled in 1/48, these would be made from bits of stretched sprue, but that really isn't practical in 1/72. I stumbled across this idea while practicing with Radu Brinzan's riveter. I consider this to be the best riveter on the market because the wheel is photo-etched steel and makes a VERY small rivet. Run the riveter across .005" styrene, flip it over and you get a very nice impression of bolts.
 IMG_6039
 IMG_6030
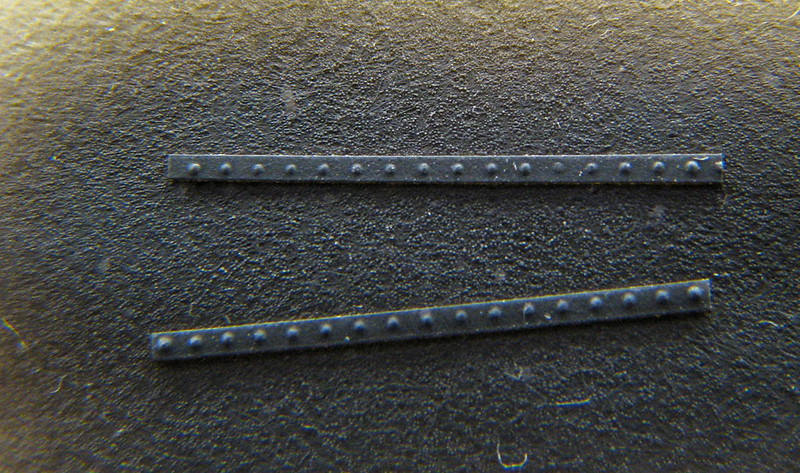
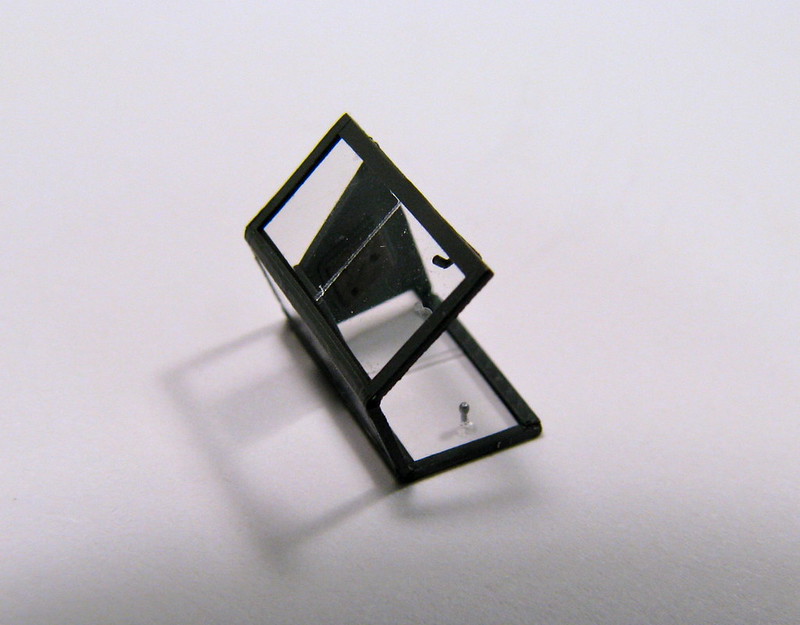
Spray the interior color and drybrush with light grey oil paint. Also, emboss the rivets, then cut the strip. Doing the reverse will severely distort the strip. Before applying with white glue, paint the reverse side also. Otherwise the white plastic will be reflected through the panel.
 IMG_6024
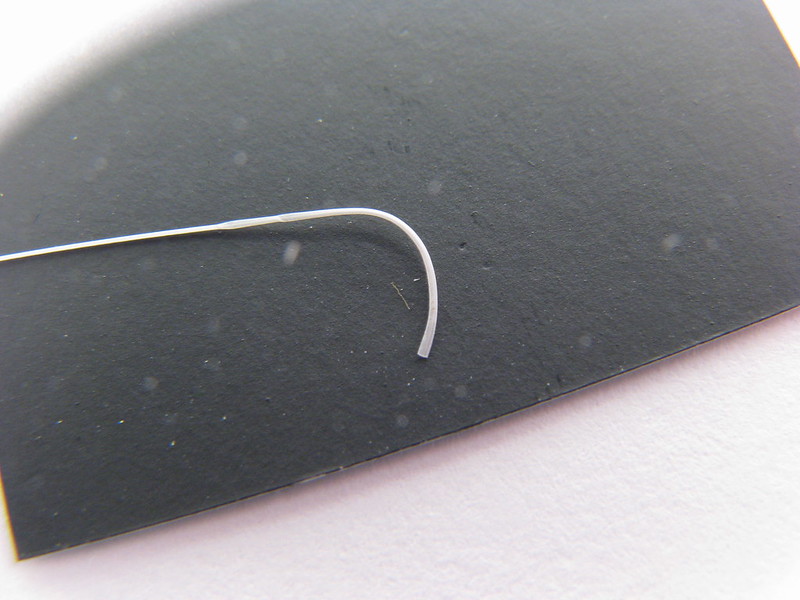
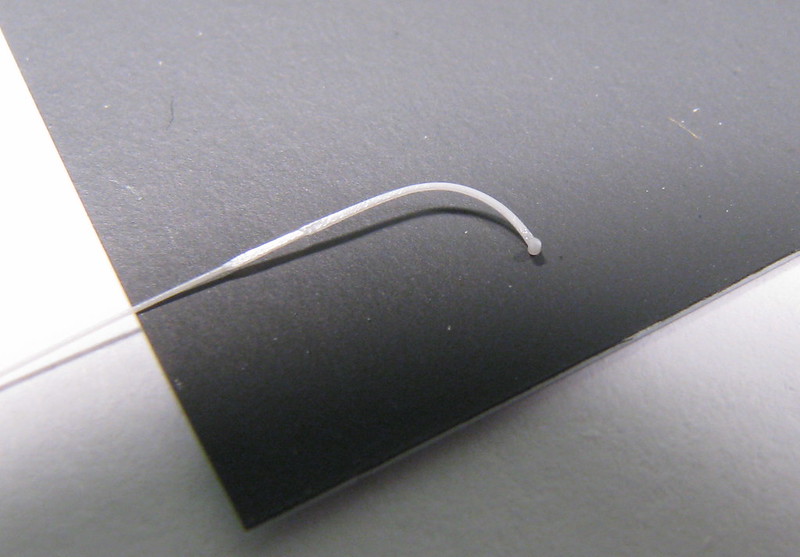
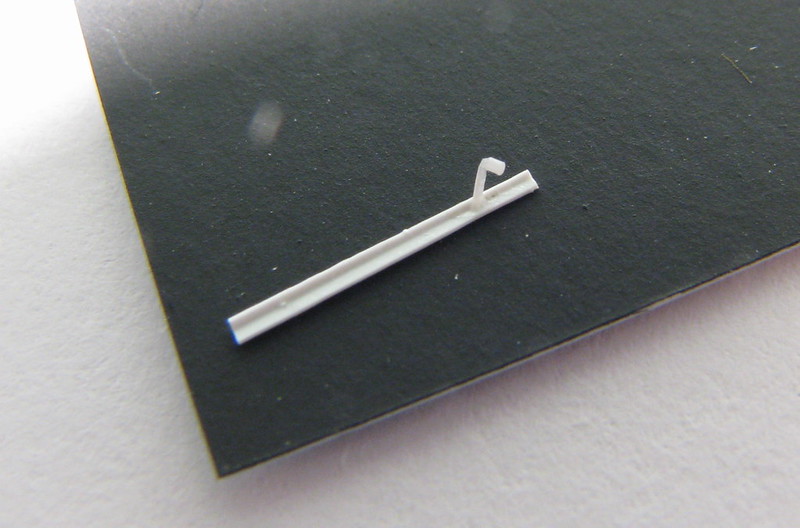
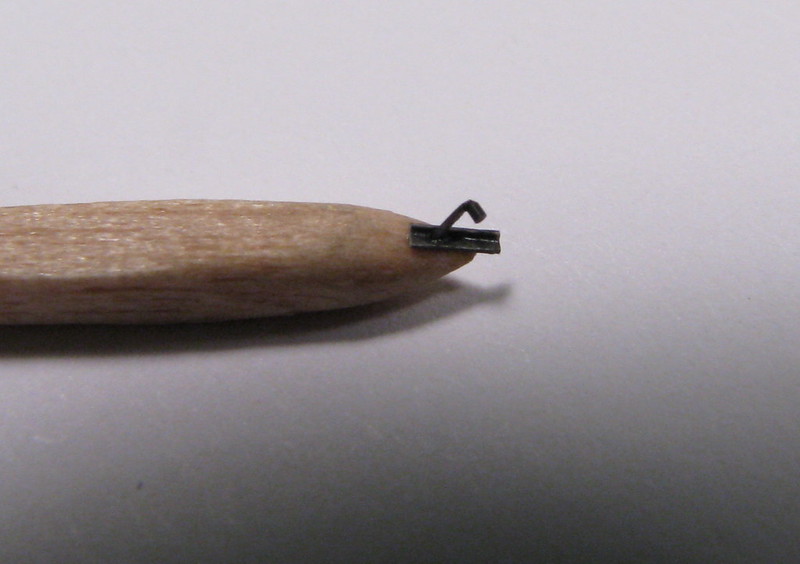
Finally, I wanted to represent the locking lever on the side of the bottom frame. An easy way to represent a flat, curved piece it to curl stretched sprue, then flatted it with a pair of flat pliers. The knob is a bit of stretched sprue. The handle is then glued to a bent piece of .005" sheet, painted grey and again white glued the the frame.
 IMG_6036
 IMG_6040
 IMG_6041
 IMG_6043
Here's the nearly complete canopy. Next will be the small knobs on the forward panel and applying Hans Fay's finger prints on the knob. Just kidding about the fingerprints, I have no idea what they looked like.
 IMG_6044
...made the little knobs tonight so I decided to add them to this segment. They are thin sprue dipped in white glue. After drying I further dipped them in Metalizer non-buffing aluminum. Then snipped them off and attached them with more white glue. They may be a bit big, but they're the smallest of the 10 or so that I made and its difficult to work with anything smaller.
 IMG_6050
IMG_5986 Paint the edges with RLM 66. Don't worry about the ragged looking edges, they will be covered by decals cut into strips to represent frames.
IMG_5995 I wanted to represent the bolts on the base strips at the bottom of the canopy. I the old days when I modeled in 1/48, these would be made from bits of stretched sprue, but that really isn't practical in 1/72. I stumbled across this idea while practicing with Radu Brinzan's riveter. I consider this to be the best riveter on the market because the wheel is photo-etched steel and makes a VERY small rivet. Run the riveter across .005" styrene, flip it over and you get a very nice impression of bolts.
IMG_6039 IMG_6030 Spray the interior color and drybrush with light grey oil paint. Also, emboss the rivets, then cut the strip. Doing the reverse will severely distort the strip. Before applying with white glue, paint the reverse side also. Otherwise the white plastic will be reflected through the panel.
IMG_6024 Finally, I wanted to represent the locking lever on the side of the bottom frame. An easy way to represent a flat, curved piece it to curl stretched sprue, then flatted it with a pair of flat pliers. The knob is a bit of stretched sprue. The handle is then glued to a bent piece of .005" sheet, painted grey and again white glued the the frame.
IMG_6036 IMG_6040 IMG_6041 IMG_6043 Here's the nearly complete canopy. Next will be the small knobs on the forward panel and applying Hans Fay's finger prints on the knob. Just kidding about the fingerprints, I have no idea what they looked like.
IMG_6044 ...made the little knobs tonight so I decided to add them to this segment. They are thin sprue dipped in white glue. After drying I further dipped them in Metalizer non-buffing aluminum. Then snipped them off and attached them with more white glue. They may be a bit big, but they're the smallest of the 10 or so that I made and its difficult to work with anything smaller.
IMG_6050
No comments:
Post a Comment